OmniNexus Team
Better Listing Photos From Your Phone, Before You Post
A shooting checklist, a shot list, honest phone edits and the right lead photo for condos and terrace houses in Selangor, KL, Dubai and Abu Dhabi.
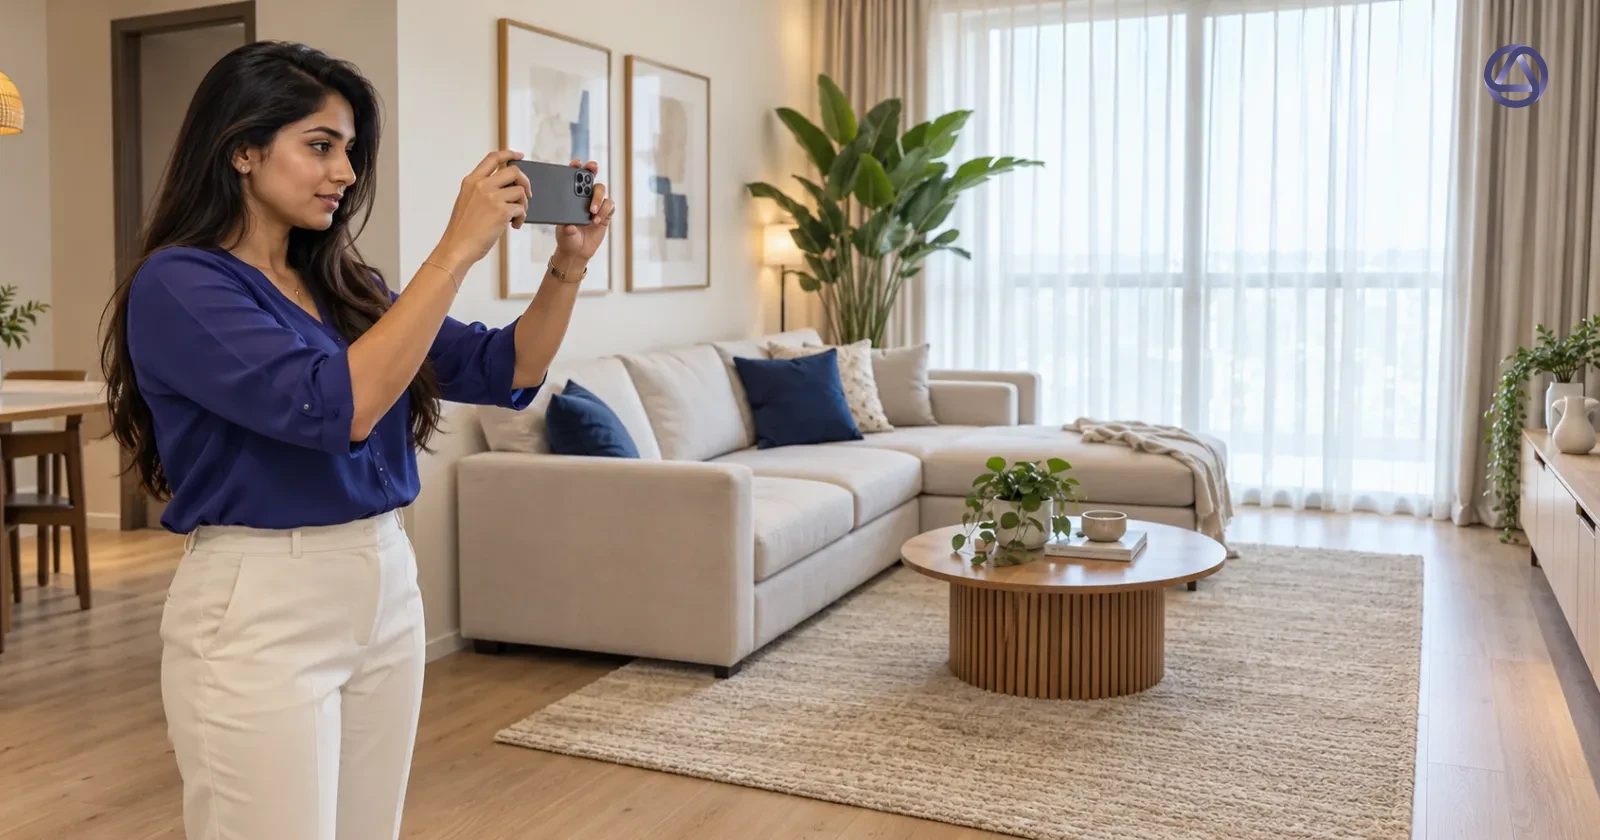
You got the key at 4pm, the owner's things are everywhere, and the living room looks like a cave on your screen. You post it anyway because the viewing slots are open. Then a buyer scrolls past in under a second.
Most buyers see your photos before they read a word. A good unit with dark, crooked photos looks worse than it is, and a phone is enough to fix that. Here is what to do before, during and after the shoot.
Before you leave the car: a printable checklist
Copy this into your notes or print it and keep it in the car.
- Wipe the phone lens with your shirt. A greasy lens is the most common reason for hazy photos.
- Switch on the grid lines in your camera settings.
- Ask the owner or tenant to be out, or at least to move their belongings. Agree this the day before.
- Book the shoot for the brightest time the unit gets, not for when you are free.
- Charge the phone and clear storage. A full phone mid-shoot is a bad afternoon.
- Bring a microfibre cloth and a bag for clutter.
- Switch off ceiling fans so the blades do not blur, and close wardrobe doors.
- Turn the phone sideways. Horizontal photos fill the screen on listing portals.
Light: use the day, do not fight it
Harsh midday sun is the problem in both Malaysia and the UAE. A west-facing condo in Mont Kiara or Dubai Marina at 3pm throws hard stripes across the floor and burns out the window. A terrace house in Puchong with a dark front hall swallows everything.
- Open up. Open every curtain and blind. Switch on the lights in dark rooms, the kitchen and the corridor.
- Window position. Shoot rooms with the window behind you or to your side, not straight in front of you. Facing a bright window turns the room into a silhouette.
- Direct sun. If the sun is hitting the room directly, wait for it to move or shoot that room last.
- Exposure. Tap the screen on the darkest part of the room, then slide the brightness down slightly so the window is not pure white.
- Mixed light. Mixed light looks messy. If the bulbs are yellow and the daylight is blue, turn the bulbs off in rooms with big windows, and keep them on only in rooms without much daylight.
- No flash. It flattens the room and bounces off tiles.
Angles and height
Stand in a corner and shoot towards the opposite corner. This shows two walls and the floor, so the room reads bigger.
Hold the phone at about chest height, level with the ground. Tilting up or down makes walls lean in, and that is the crooked look buyers notice. Use the grid lines and check that the door frames are straight up and down.
Use the standard lens for most shots. The ultra-wide lens makes small bedrooms look larger than they are, and a buyer who feels tricked at the viewing will not trust you on price either. Use it only for tight spaces like a bathroom or a narrow kitchen, and keep the distortion low.
Declutter: what to move, and what to leave
Do this before the first photo, not in the editor.
- Kitchen: clear counters, except one or two items.
- Bathroom: close toilet lids and put toothbrushes, towels and toiletries away.
- Personal items: remove family photos, religious items and anything that identifies the owner. This is about privacy as much as looks.
- Entrance: tidy shoes and the shoe rack. In a Malaysian home the entrance is full of them.
- Balcony: take out laundry racks and clothes drying on the balcony. They turn up in far too many subsale photos.
- Living room and bedrooms: straighten cushions and make the beds.
Leave furniture that shows how the room is used. A bed in the bedroom is fine. Piles of boxes are not.
Aircon units, grilles and other things in the frame
Aircon units and grilles are part of a home in both markets, so do not hide them, but do not make them the centre of the shot. Move a step to the left or right so the unit sits at the edge of the frame instead of above the sofa.
Grilles on the balcony and windows will catch the camera focus. Tap the room behind them, not the bars. If the view is the selling point, shoot one photo through the open door and one from the corner of the balcony.
The shot list, in order
Shoot in the order a buyer would walk the unit. It also keeps you from forgetting a room.
- Exterior or building front, in good light.
- Entrance and corridor.
- Living room, from the corner, then a second angle.
- Dining area and kitchen. One wide, one of the counter or cabinets.
- Master bedroom, from the door and from the window side.
- Other bedrooms, one photo each.
- Bathrooms, one each, taken from the door with the lid down and the light on.
- Balcony and the view, whether it is a Dubai Marina skyline or a Cheras hillside. Take the view at the brightest time you can.
- Facilities for a condo, such as the pool or lobby, if the unit is close to them.
- Floor plan or a photo of it, if you have one.
Take three photos of each spot and pick the best later. For the bathroom, check the mirror: if you can see yourself and the phone, move.
Simple edits that keep photos honest
Edit with the phone's own editor or any free app. Work through these in this order.
| Edit | What to do |
|---|---|
| Straighten | Fix tilted walls using the angle tool |
| Crop | Remove dead floor or ceiling, keep a consistent shape |
| Exposure | Raise a little if the room is dark, pull highlights down if the window is burnt out |
| Shadows | Lift slightly |
| White balance | Walls should look white, not yellow |
| Contrast | Add a small amount, then stop |
Stop there. Do not remove a power cable, an electrical box, a crack or a stain, and do not change the sky or the view. Do not add furniture that is not there. A buyer will see the real room at the viewing, and a photo that does not match it costs you the viewing and your name. Fixing light is honest. Hiding a fault is not.
Which photo should lead a carousel
The first slide decides if anyone swipes. Lead with the best room, which is usually the living room or the view, not the building front. Pick the photo that is brightest, straight and most like the home a buyer imagines living in.
A simple carousel order:
- The best room or the view.
- The living room from another angle.
- The kitchen.
- The master bedroom.
- A bathroom.
- The balcony or facilities.
- Floor plan, then a last slide with the price, the area and how to contact you.
Keep the same crop and similar brightness across the slides so the set looks like one listing.
Where Marvis fits
If you have a folder full of photos and no time, Marvis can help after the shoot. You can enhance your photos, edit them in a built-in editor, and make carousels. You can also upload a batch of photos at once and have AI write captions, which you then edit and approve before anything is posted. It does not replace a good shoot, so the checklist above still matters. If you want to try it, you can sign up here.
Next time you get a key, run the checklist once, shoot in the order above, and see how different the listing looks.